Thursday, June 23, 2011

Oh my goodness, how long has it been since I have sewn something?

(Seems like months!)
Somehow in the past two days I snuck in a little sewing time...
probably because the garden is planted,
it has rained each day (no watering needed to be done),
the house is clean and the laundry is done.

Every day while I am out doing tasks around the farm,
I envision what type of apron would be the perfect "can-do" 
apron for farmgirls of all types.

Inspired by my beloved chickens,
(I love the cheerful chicken and sunny side up egg fabrics.)
I came up with this everyday-chore-apron,
with ample and deep pockets....
perfect for bringing in the day's garden fare,
or for collecting eggs,
or even for holding lots of clothespins while hanging the laundry.
There's even a small pocket sewn in to the side for a cell phone.

I can think of tons of uses each and every day!
This one is for sale HERE,
but I think I'll have to make another just for me!

Friday, June 3, 2011

Garden Projects

This adorable wreath adorns the front of my garden shed.
Although this particular wreath was a gift to me,
I think it would be amazingly easy to construct.


An old garden hose, some silk flowers and a bow....
and voila....
adorable!

Secondly, I have seen this next project in magazines lately,
and on other blogs.
It's a simple, inexpensive project.

Simply.....hammer an old silver plated spoon until it is flat.
(a mallet works best)


Stamp the letters with metal stamps
and use permanent ink to stain the letters.


I was working on an old tree stump...


Until Edith came over and started to steal my spoons.


These are now in my herb garden.....


If you are interested in making these, you will need a set of metal letter stamps
which you can find on Ebay for $10 a set.
Spoons are easy to come by and cheap at your local thrift store / flea market.


Sunday, April 17, 2011

Chocolate For a Rainy Day!

I am not sure how much more rain I can take.

Or should I say, how much more rain my waistline can take!
Saturday's weather was as much like a monsoon as I have ever experienced,
so I spent the day baking,
and baking,
and baking.

I started with bread....

Next, moved to cookies...

Followed that with a double batch of black and white biscotti...

The grand finale was this chocolate fudge cake...

I am sure it is the best I have ever made...maybe even the best I have ever eaten.
It is so, so yummy, that I thought I would share the recipe, in case you wanted to try it too!

Wellesley Fudge Cake

4 oz unsweetened chocolate
1/2 cup water
1 3/4 cup sugar
1 2/3 cups flour
1 teaspoon baking soda
1 teaspoon salt
1/2 cup butter
3 eggs
3/4 cup milk
1 teaspoon vanilla

Melt chocolate in water in saucepan over very low heat, stirring constantly until smooth.  Add 1/2 cup of the sugar; cook and stir 2 minutes longer.  Cool.  Mix flour, soda and salt.  Cream butter.  Gradually beat in remaining 1 1/4 cups sugar and continue beating until light and fluffy.  Add eggs, one at a time, beating thoroughly after each.  Alternately add flour mixture and milk, beating after each addition until smooth.  Blend in vanilla and chocolate mixture.

Pour into 2 greased and floured 9 inch layer pans.  Bake at 350 for 30 to 35 minutes.  Cool in pans 10 minutes.  Remove from pans and finish cooling on rack.  Spread frosting between layers and over top and sides.  Garnish with chipped nuts, if desired.

Classic Fudge Frosting

4 oz. unsweetened chocolate
2 tablespoons butter
4 cups confectioners sugar
dash of salt
1/2 cup milk
1 teaspoon vanilla

Melt chocolate with butter over very low heat, stirring constantly until smooth.  Remove from heat.  Combine sugar, salt, milk and vanilla.  Add chocolate, blending well.  If necessary, let stand until of spreading consistency, stirring occasionally.  Spread quickly, adding a small amount of additional milk if frosting thickens. 

Note, I used a couple bars of this for my unsweetened chocolate...

Yummy, rich, dark chocolaty decadence!

Here's hoping the sun soon shines,
or I will weigh a ton!

Friday, April 15, 2011

Natural Egg Dye Recipes

 For those of you who would rather use all natural dyes than chemical dyes for your easter eggs, I found the following recipes from Sonnewald Natural Foods.

Natural Egg Dyes Recipes
Use hard cooked brown or white eggs. After eggs are cooked, quickly cool the water or rinse in cold water. This helps to prevent greening of the yolk. Natural dyes take longer to color the egg, so plan on extra time, or leave the eggs in the refrigerator overnight.
Recipes make approximately 1 cup dye.

Yellow or deep gold:
1 – 2 tsp. turmeric powder, fill cup with boiling water, stir in 1 tsp. white vinegar (dusty after drying, wipe gently with dry cloth & be very careful for stains) Orange or lemon peels, carrot tops, celery seed, & ground cumin can be added for variation.

Peach to orange:
1 large handful yellow onion skins simmered 20 minutes. Now add 1 tsp. white vinegar.

Rust:
1 large handful of a mix of yellow & red onion skins, prepared as above.

Red:
2 – 4 tbsp. freshly grated beets, fill cup with boiling water, stir in 1 tsp. white vinegar Allow to sit overnight. Cranberries or frozen raspberries can also be used.

Purple:
2 tbsp. grated beets, 2 tbsp. red cabbage, fill cup with boiling water, stir in 1 tsp. vinegar A bluer shade of purple can be made using grape juice concentrate and 1 tsp. white vinegar

Blue:
Bright 2 – 3 tbsp. chopped red cabbage, fill cup with boiling water, stir in 1 tsp. white vinegar Allow to set overnight. Blueberries may also be used.

Green:
3⁄4 - 1 tsp. turmeric, 2 – 3 tbsp. chopped red cabbage, fill cup with boiling water, stir in 1 tsp. vinegar. Spinach leaves, carrot tops, and yellow delicious apple peels can also be used.

Beige to brown:
Strongly brewed coffee, limes, pecan, or walnut shells can be used.
Another method - Place eggs in a single layer in a pan. Cover with water. Add 1 tsp. vinegar and dye materials of choice. (Brighter, deeper colors require more dye material.) Bring to a boil, reduce heat and simmer for 15 minutes. Cool quickly. (sit bowl in ice water) Allow to set, covered in the refrigerator overnight if more color is desired. Drain and dry.

From www.sonnewald.org

Sunday, April 10, 2011

Baking Ideas

My favorite coconut cake recipe...
made into sweet Easter cupcakes,


topped with cream cheese/butter frosting
grass green coconut,


easter eggs,
with a vintage bunny topper.


You can find the recipe HERE.

And here is the graphic if you want to make a topper.

I printed them and flipped the image to make matching back sides.

(Ooohhh, I can hardly wait for dessert!!)

Now off to pop a loaf of whole grain bread into the oven,
and baking for the week is finished.

Friday, April 8, 2011

The Blessing of Friends

Another rainy day....

we've had way too many.
After living through what seems to be the longest winter of my life,
I am in big need of sunshine.
And yet, the weather doesn't cooperate.

In an attempt to lift my dampened spirits,
I bought two Gerbera daisies and repotted them
in clay pots set in an old milk carrier.


Flowers are the perfect way to brighten a day.

A vignette change on my kitchen window sill 
gives me some cheer as I look out at the unending rain.

What I really wanted to show you is this...

two special packages that the mailman brought today.
They are lovely gifts from two dear friends...
one from Louisiana, and one from Kentucky....
both are Blogland friends who I wish lived down the road.
They are two sweet gals that have blessed my life with 
their friendship.

This brown box is was stuffed with delicate,
delicious whoopie pies. (my favorite!)
(My mouth is stuffed with one as I write this.)

Thank you Linda....you helped make my birthday so very special.
What I cannot show you is the package that arrived last week
from Linda....filled to the brim with all sorts of wonderful gifts
for me...a basket of cookie cutters, a book, a candle,
 and black iris rhizomes from her garden 
(which have now made a home in my garden).

The second package today was from a sweet Southern Belle
with an amazing business she calls "MettaMarie".
It is a lovely tattered and embellished crocheted top from 
her yummy collection of hand made wearable art.
 
It truly is a piece of wearable art!
Check out her lovelies HERE

Thank you so very much Autumn!!

Last week a package arrived from my friend Grace in Washington.
A lovely lavender sachet from her homegrown lavender,
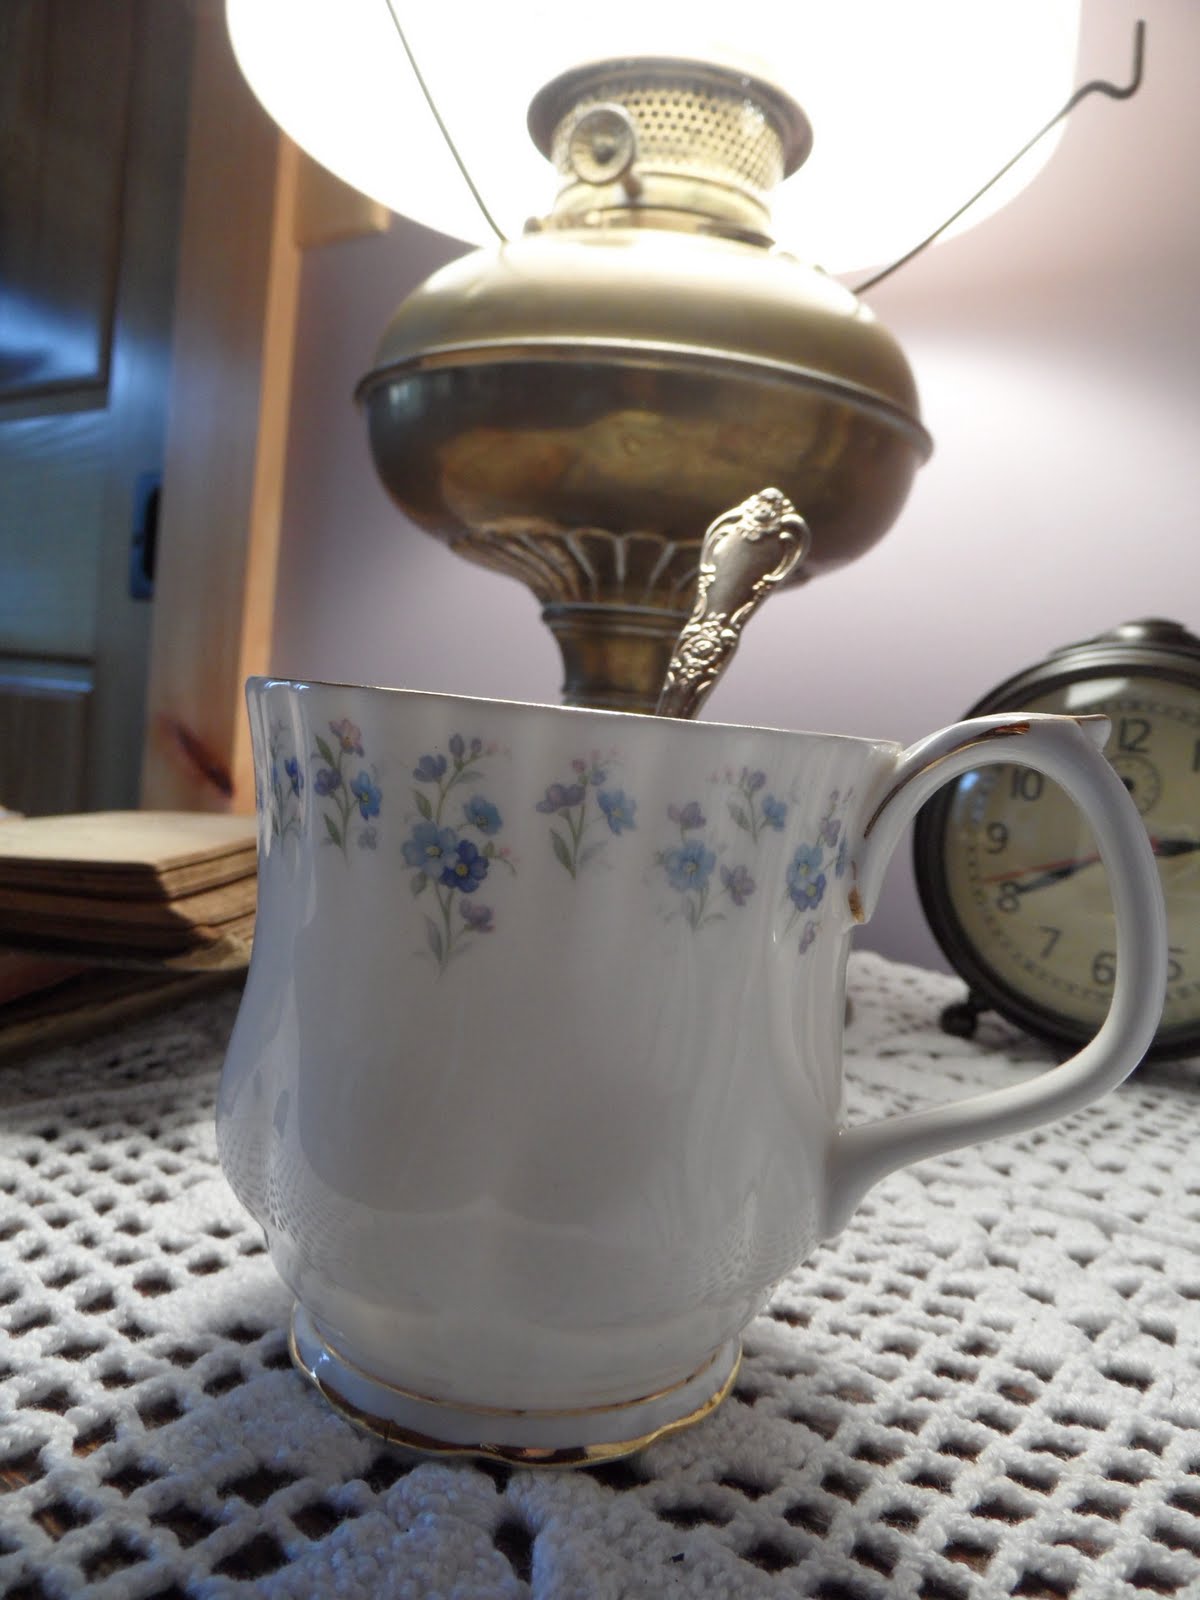
a sweet china teacup and silver spoon


and a hand crocheted rag rug...


Thanks so much Gracie!

Sweet notecards graced my mail last week from my oldest friend,
Laurie.
We were born on the same day and share so many life memories.
Our history is a story in itself.... we have had more in common over the years
than one could ever imagine.
How did she know that I would need so many notecards this year?
Thanks Laurie!

Although these friends (and several others) are scattered around
the nation, they claim a place very dear to my heart.
Soul sisters, kindred spirits....blessings who have made 
my life richer and fuller with their friendships.

To all of you who have extended a hand in friendship...
I thank you.
May I be the kind of friend in return that you are to me.
May I lighten your heart on a dark, gloomy day,
like you have done for me.

I love you...dear friends!

Sunday, March 27, 2011

Farm Baking

The return of cold wintry weather

gave me the opportunity to direct my attention to the kitchen.  
Baking took the place of gardening this past week.

I tried a new recipe from my favorite cookie book...
Spritz butter cookies with a dark chocolate filling.
So, so good!
I think they would be perfect for a tea party or shower.
They are so easy and quick, too!

Any time I come across "bee" items for the kitchen,
I cannot resist.
I found a pan to make this yummy almond cake...

Each honeycomb section is the perfect portion size.

The recipe is a keeper, too!

Whole grain dough, rising....


yielded three loaves of delicious bread.

This weekend three of our kids came to cook Saturday dinner.
I only wish I had taken pictures....
we had the yummiest pretzel rolls for our 
local, pasture raised beef and goat cheese burgers.

Monday, March 21, 2011

Horsing Around

It's a little early for Easter cookies,

but they're coming.

I was in the mood, nonetheless, to make some
Scottish Shortbread cookies...
Horses!
I like how these turned out.

Tuesday, March 8, 2011

A New Treasure

We've discussed my love for antiques previously.
To me, a perfect day is one in which I escape to one of
several favorite antique malls and lose myself 
amidst the displays.

Today was just such a day.
By the end of my treasure hunting
I had found this beauty.

It is an old iron candy machine
and it works perfectly.
It was red, but I decided that black would
look perfect in my kitchen....
so a coat of paint later, this is what it looks like.

M&M's are something we always keep in the house.
The kids expect it.
So now we have the perfect place to keep them.

Each turn of the handle dispenses 2 pieces of candy...
a perfect ration for a quick "goody" fix!

Friday, February 25, 2011

Sewing Projects

I just finished this apron and before I post it in my shop (HERE)

I thought I would give you a sneak peak.


I just love this fabric. 
 It is a premium cotton that is so cheerful and drapes nicely.

If I were going to keep this apron, 
I would surely wear it to collect eggs in the summer.
I'm sure that my hens would approve!
(But, I am not going to keep it... it is for sale.)

I also wanted to share another project with you...
one I think you'll want to try.
I made these four as practice.
You can tell the size of them by the mat beneath...
each square is one inch.

I saw this idea posted by my friend Steph, The Queen of Dreams.
Her post directed the reader to this website for a tutorial.
Check it out  HERE.

These would make great embellishments for a hat, a coat,
a purse, a sweater, a pillow....just about anything.
My advice is to watch the tutorial video a few times and then
again while you try your first rosette.  It took me a few tries
until I got the knack.

Have fun!!

Tuesday, February 22, 2011

Royal Icing

I wanted to name this post "Royal Icing....Made Easy",

but as you will see in my photos...
it's not always as easy as it looks working with royal icing.

I have mastered the "free form" and techniques like feathering
the icing.  However as you will see, there is still so much I need to work on.

First, the recipe.....

The basic recipe is as follows.
I increase the recipe as needed....
usually 4 times for a double batch of shortbread cookies.

1 cup powdered sugar
1 tablespoon meringue powder
1/4 tsp vanilla
pinch of cream of tartar
2 tablespoons warm water
gel icing colors...tiny amount

I mix the above with a whisk.

You will need two consistencies of batter.
The first like toothpaste...to outline your design.
The second much runnier to float a large area of icing
within the outlined area. 


You can adjust the thickness to obtain what you need by
either adding a tiny bit of water to thin,
or adding a bit of powdered sugar to thicken it.

I use plastic decorating bottles with various tips
to outline and float color, 
but you can use a pastry bag with tips, instead.

Today's project was buttons...
but as you can see I had a bit of difficulty with them.... 


I finished with what I am better at....
a little more free-form design....


Here are my favorite inspirational websites for cookie
decorating ideas....


Even if you don't plan on baking any cookies,
check out these ladies' designs...
they are truly cookie artists.

Thursday, February 10, 2011

Valentine Treats For My Sweets!!

Yes, I've been baking cookies again.
This time for Valentine treats.

I just might be addicted to royal icing!


So, what's the next holiday???
Hmmmm.....green cookies, shamrocks, perhaps??


Each one individually wrapped in its own little treat bag.


Thanks, Karen, for the graphic!!


Related Posts with Thumbnails